SQL 101 | Chapter 2: Setting Up Your Database Environment
Setting up a robust and efficient database environment is a crucial step for businesses and individuals alike. Whether you're managing data for a small project or a large-scale enterprise application, getting your database environment right is essential for smooth operations. In this guide, we'll walk you through the key steps involved in setting up your database environment, including choosing the right Database Management System (DBMS), installing it along with a SQL client, and creating your first database.
Choosing a Database Management System (DBMS)
Before diving into the technical aspects of setting up your database environment, you need to make a fundamental decision: choosing the right Database Management System (DBMS). The DBMS is the software that will manage your data, and the choice you make here will significantly impact your project's success. To make a choice, you need to consider factors like scalability, compatibility, and features.

- Scalability: It refers to a system's ability to handle increasing workloads or growing data volumes without compromising performance or availability. Scalability is a critical consideration because your application may start small but could grow significantly over time.
- Compatibility: It involves the DBMS's ability to work seamlessly with your existing software stack, including your operating system, programming languages, and third-party tools. Incompatibilities can lead to integration issues, increased development time, and maintenance challenges.
- Features: The features offered by a DBMS play a critical role in defining its capabilities and suitability for specific use cases. Features can vary widely between different database systems.
After taking those factors into account, you'll find that there are several DBMS options available, each with its own strengths and weaknesses. Here are a few popular choices:
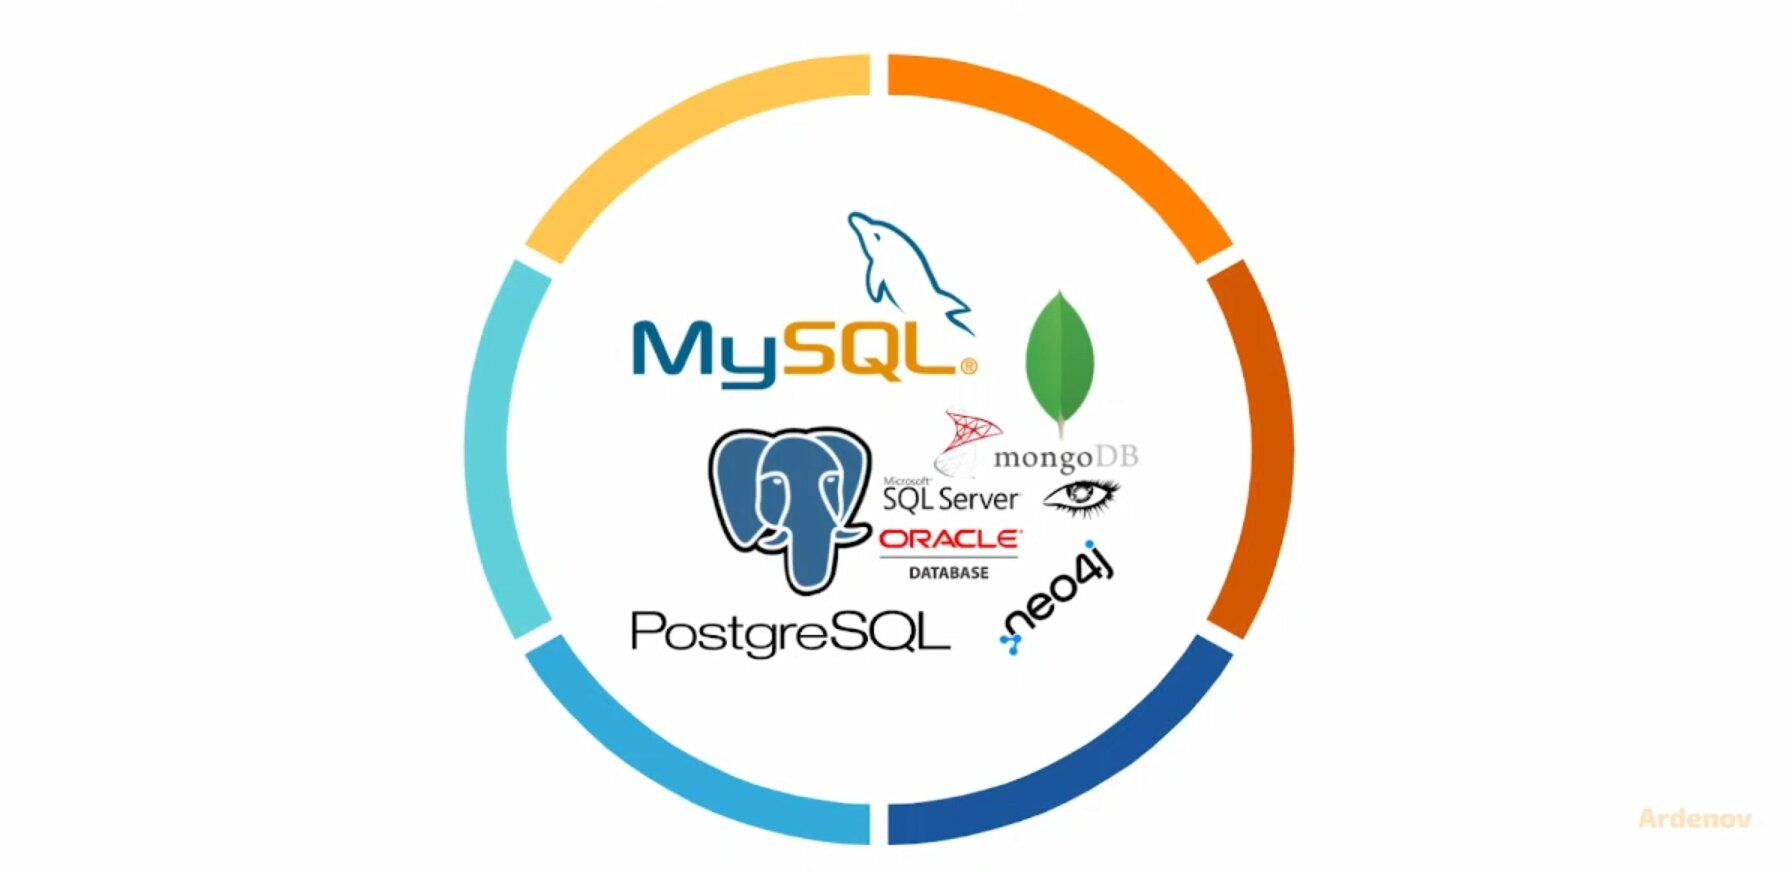
- MySQL: An open-source relational database management system known for its performance, reliability, and ease of use. It's a great choice for web applications and small to medium-sized projects.
- PostgreSQL: Another open-source relational DBMS that excels in handling complex queries and large datasets. It's a solid choice for applications that require scalability and data integrity.
- MongoDB: A NoSQL database that's ideal for handling unstructured or semi-structured data. MongoDB is perfect for projects with rapidly evolving data schemas.
- Microsoft SQL Server: A robust DBMS with strong support for Windows-based applications. It's suitable for businesses heavily invested in the Microsoft ecosystem.
- Oracle Database: A powerful DBMS designed for large enterprises with high data volume and complex requirements. It offers advanced features for data management and security.
Installing DBMS and SQL Client
Once you've selected a DBMS, the next step is to install it on your system. The installation process may vary depending on your operating system and the specific DBMS you've chosen. Here is a general outline of the steps involved:
- Download the DBMS: Visit the official website of your chosen DBMS and download the appropriate installation package for your operating system. Most DBMS providers offer clear instructions and download links on their websites.
- Install the DBMS: Run the installation package and follow the on-screen instructions. You'll typically need to configure settings such as the installation directory, port numbers, and administrative passwords during this step.
- Install a SQL Client: In addition to the DBMS, you'll need a SQL client to interact with the database. Some DBMSs come with their own graphical clients, but you can also choose from a variety of third-party options. Popular SQL clients include SQL Server Management Studio, DBeaver, and MySQL Workbench.
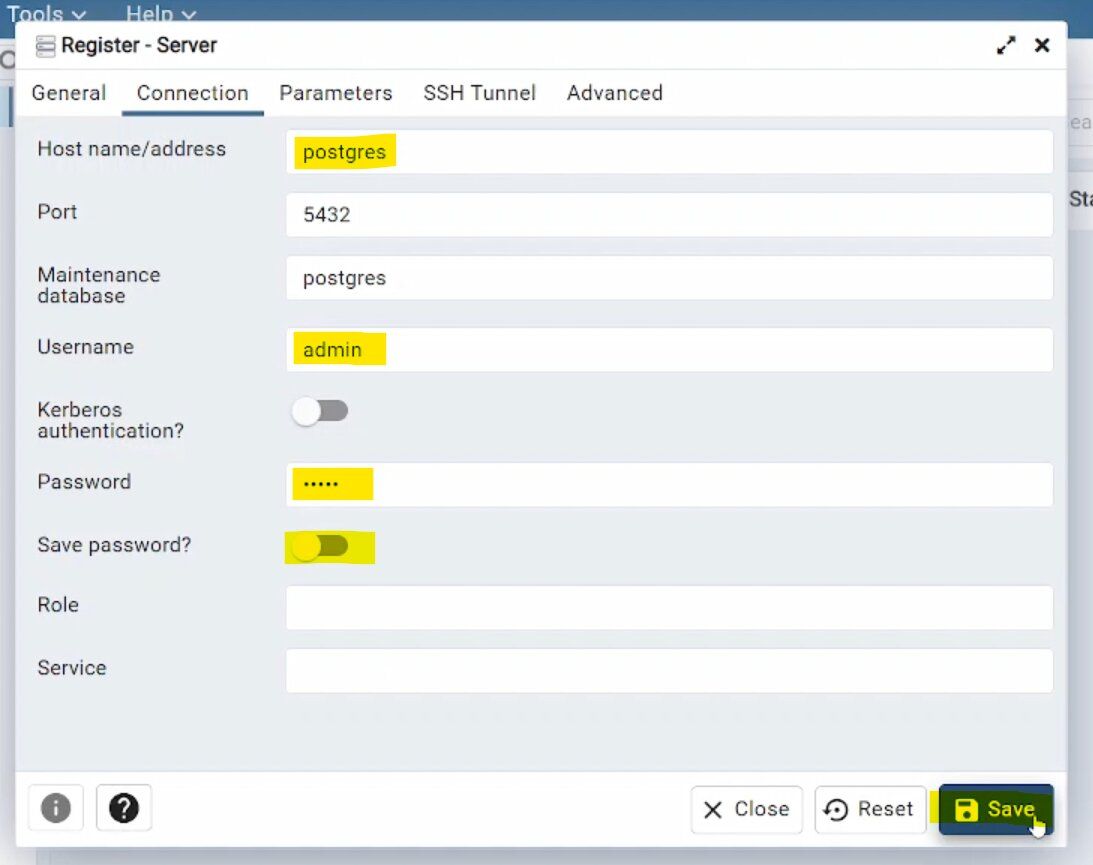
- Configure the SQL Client: Once your SQL client is installed, you'll need to configure it to connect to your newly installed DBMS. You'll need to provide connection details such as the server address, port number, and authentication credentials.
- Test the Connection: After configuring your SQL client, test the connection to ensure that it can connect to the DBMS without any issues. If everything is set up correctly, you're ready to move on to the next step.
In this SQL 101 guide, PostgreSQL will be used as the DBMS due to its extensive feature set, outstanding scalability capabilities, and the invaluable backing of a dedicated community, making it an excellent selection for those new to SQL. Throughout this guide, I'll try to adhere to ANSI SQL standards, ensuring that the knowledge you gain can be applied seamlessly across various DBMS platforms.
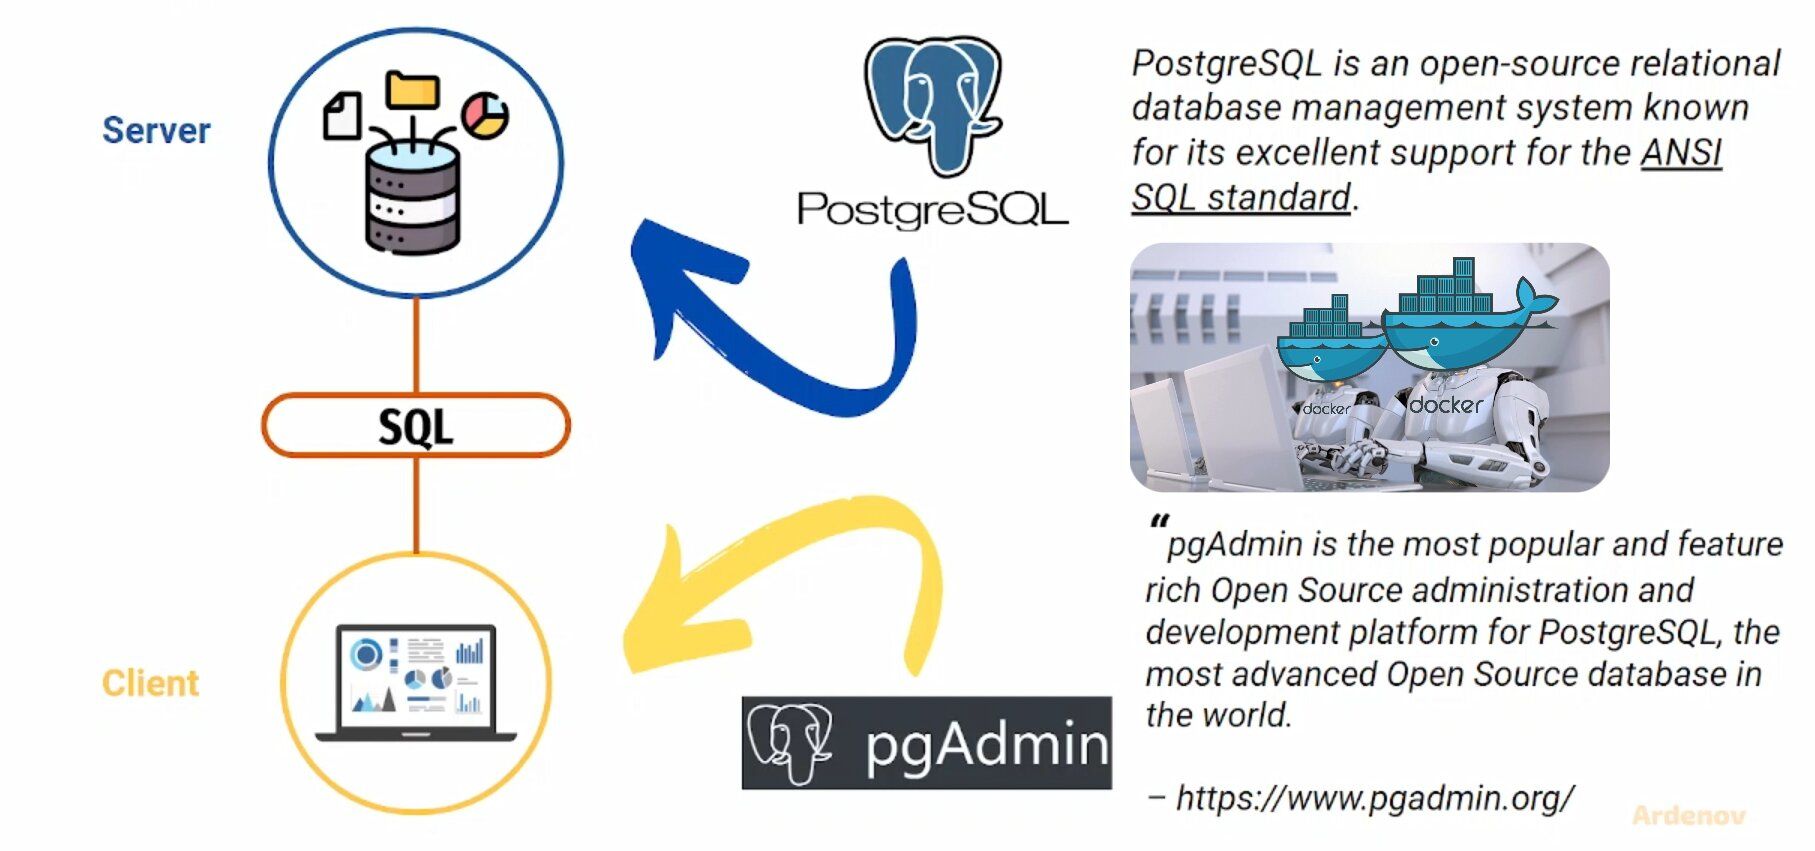
For the installation method, let's streamline the process using Docker to simplify things. Follow the steps below:
Step 1: Install Docker
Begin by installing Docker, a platform for containerization that manage our DBMS setup. Download and install the docker here: https://docs.docker.com/get-docker/
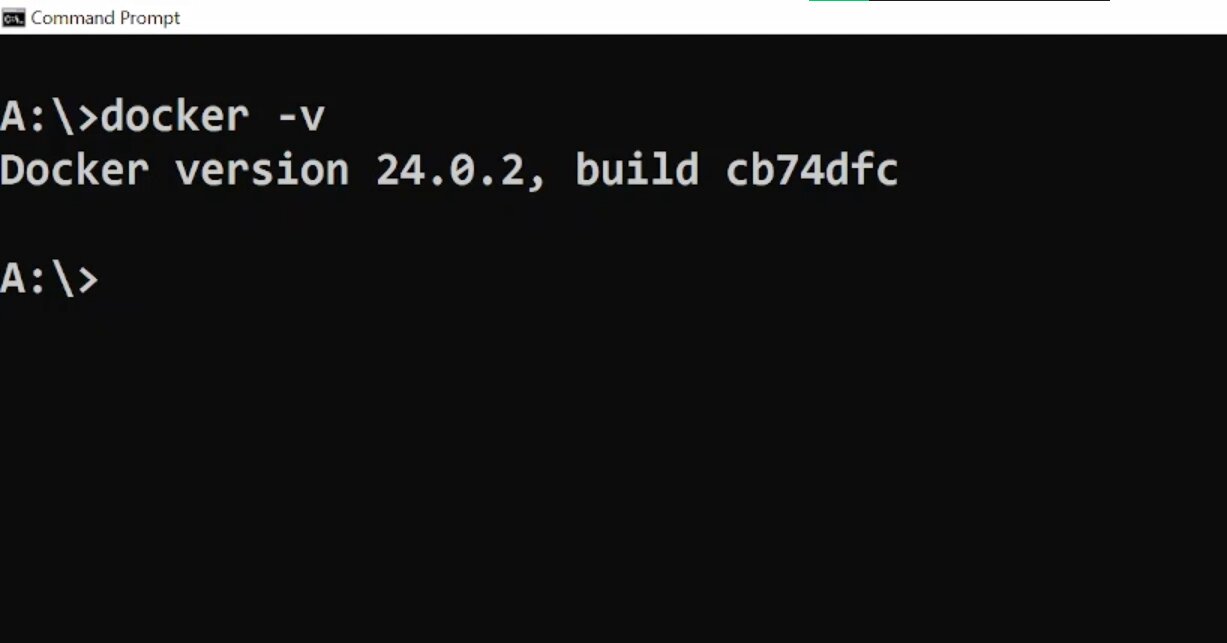
Validate your docker installation by running docker -v in command line/terminal.
Step 2: Create a docker-compose.yml File
Next, create a docker-compose.yml file.
version: '3'
volumes:
  db_data:
  pgadmin-data:
  docker-entrypoint:

services:
  postgres:
    image: postgres:13.11-bullseye # feel free to update
    restart: always
    environment:
      POSTGRES_USER: admin # change it
      POSTGRES_PASSWORD: admin # change it
      POSTGRES_DB: sql101_by_ardenov # change it
    volumes:
      - docker-entrypoint:/docker-entrypoint-initdb.d
      - db_data:/var/lib/postgresql/data

  pgadmin:
    image: dpage/pgadmin4:7.7 # feel free to update
    depends_on:
      - postgres
    ports:
      - "8001:80"
    environment:
      PGADMIN_DEFAULT_EMAIL: [email protected] # change it
      PGADMIN_DEFAULT_PASSWORD: admin # change it
    volumes:
     - pgadmin-data:/var/lib/pgadmin
    restart: unless-stopped
Step 3: Install the DBMS
docker-compose up -d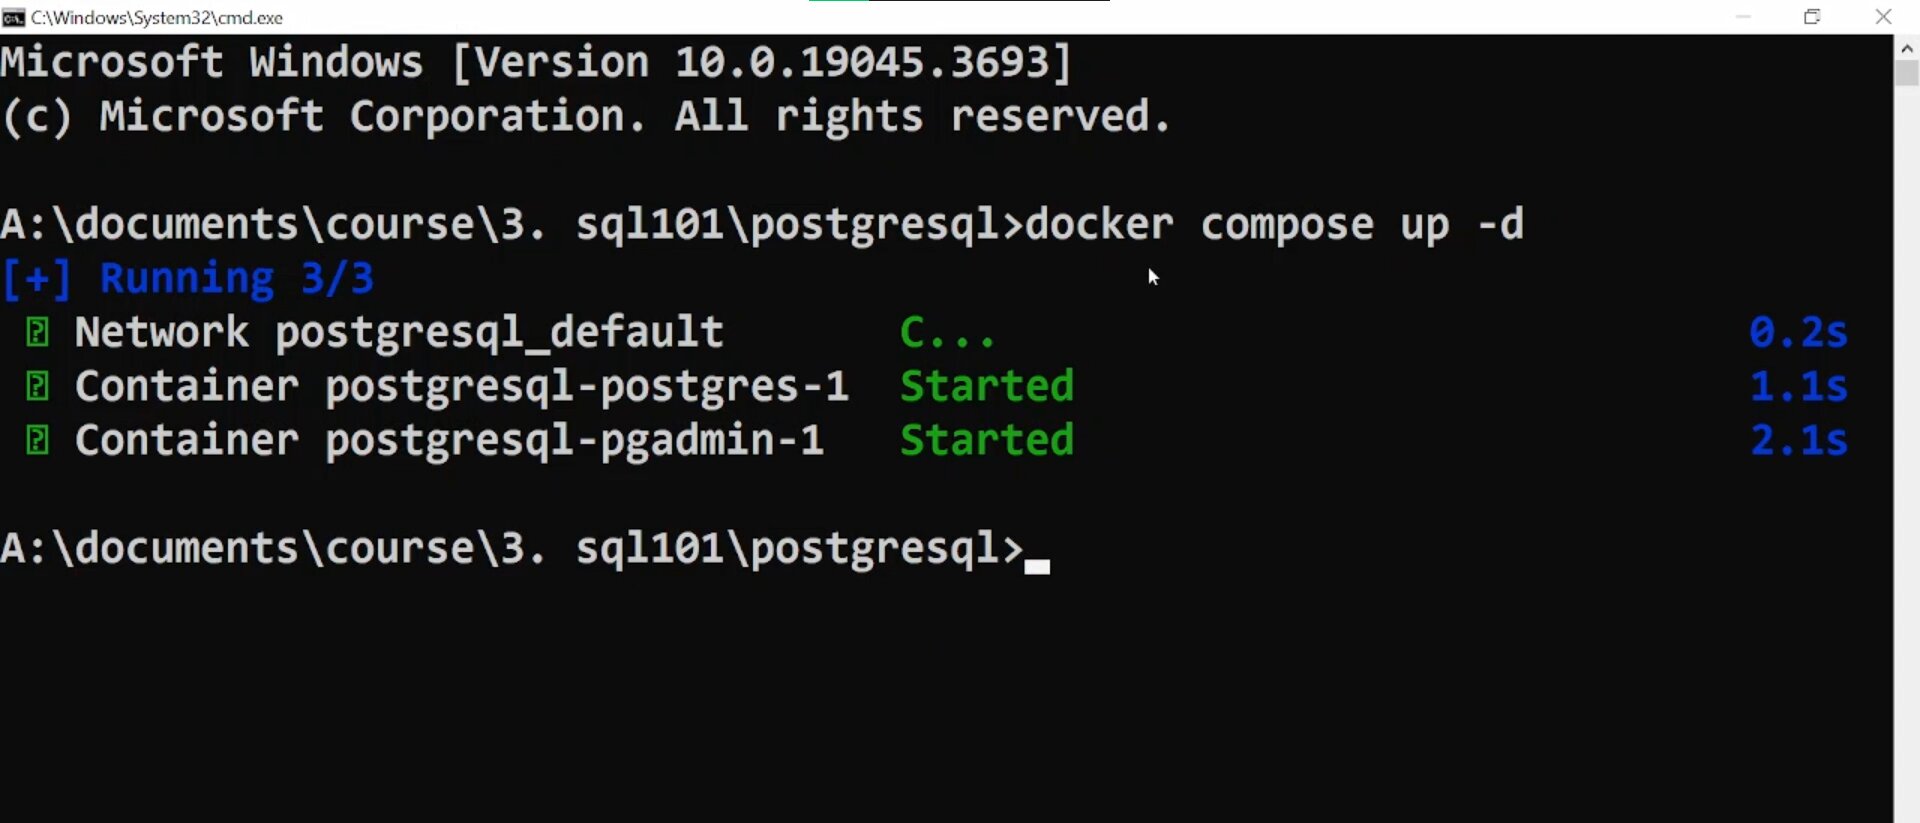
Step 4: Validate the DBMS Installation
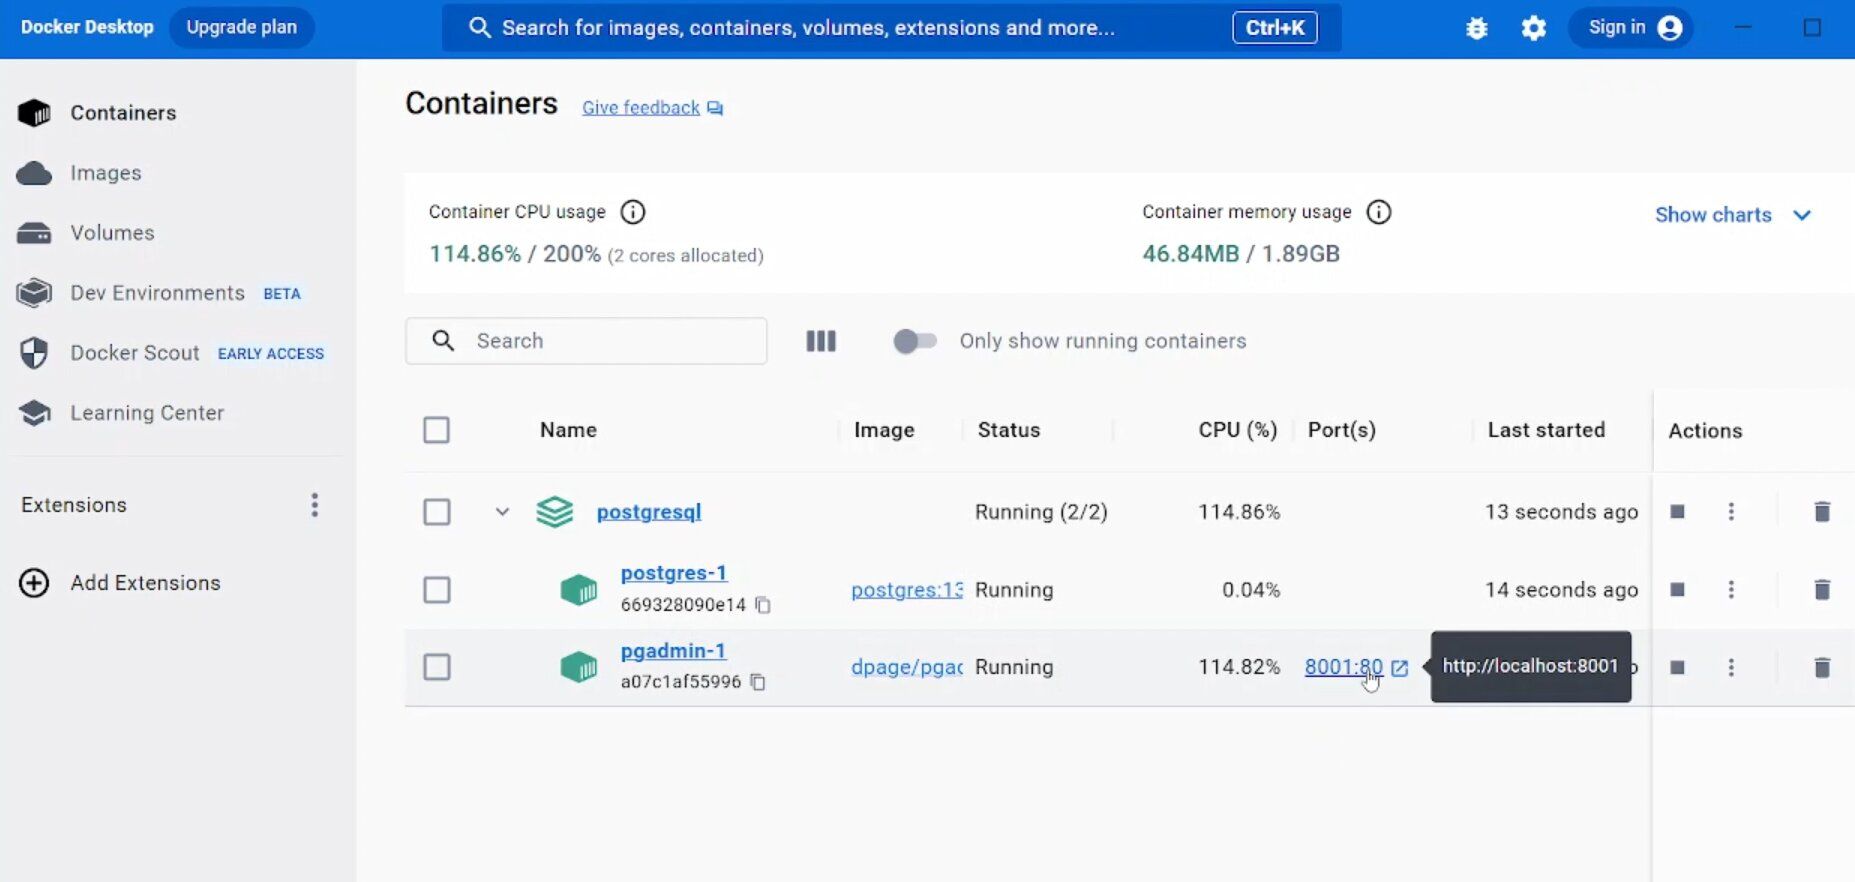
Visit the SQL Client by typing localhost:8001 in your browser or by clicking in the Docker desktop.
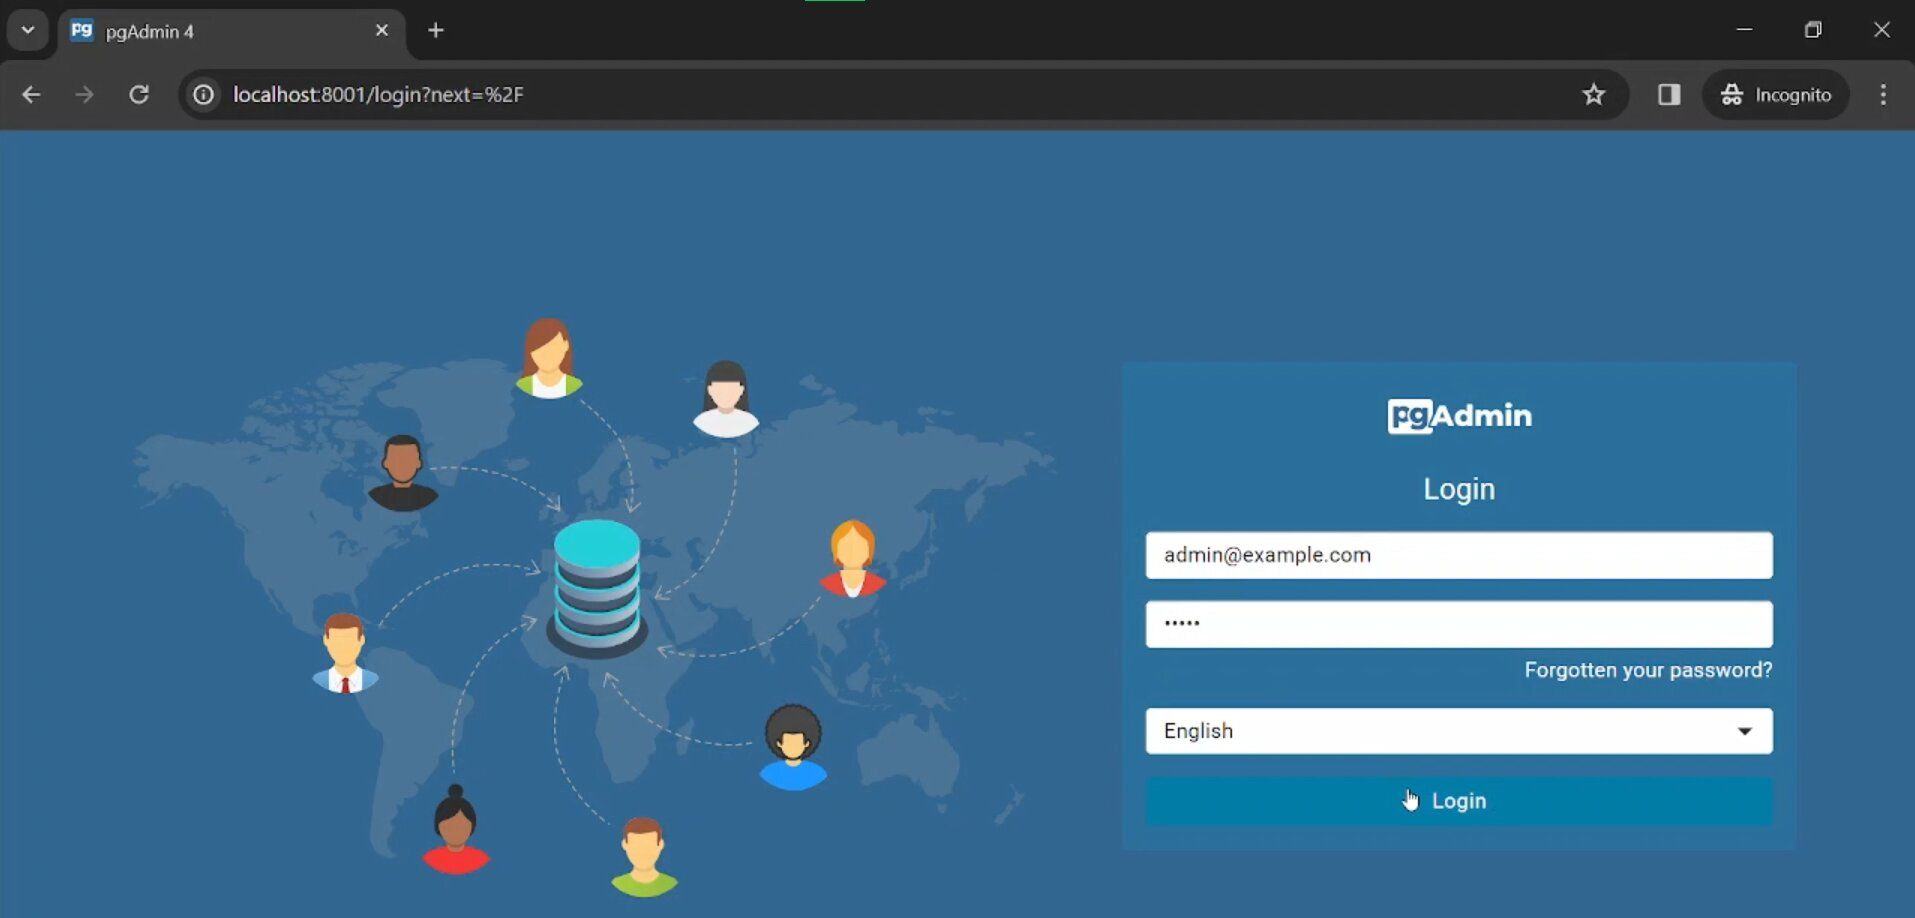
You should find the pgAdmin login page. Input the login credentials from the YAML file.
Creating a Database
With your DBMS and SQL client in place, it's time to create your first database. Creating a database involves defining its structure and schema, which will determine how data is organized and stored. Here's a simplified guide to creating a database:
Step 1: Launch Your SQL Client
Open your SQL client and connect to the DBMS using the credentials you provided during installation.
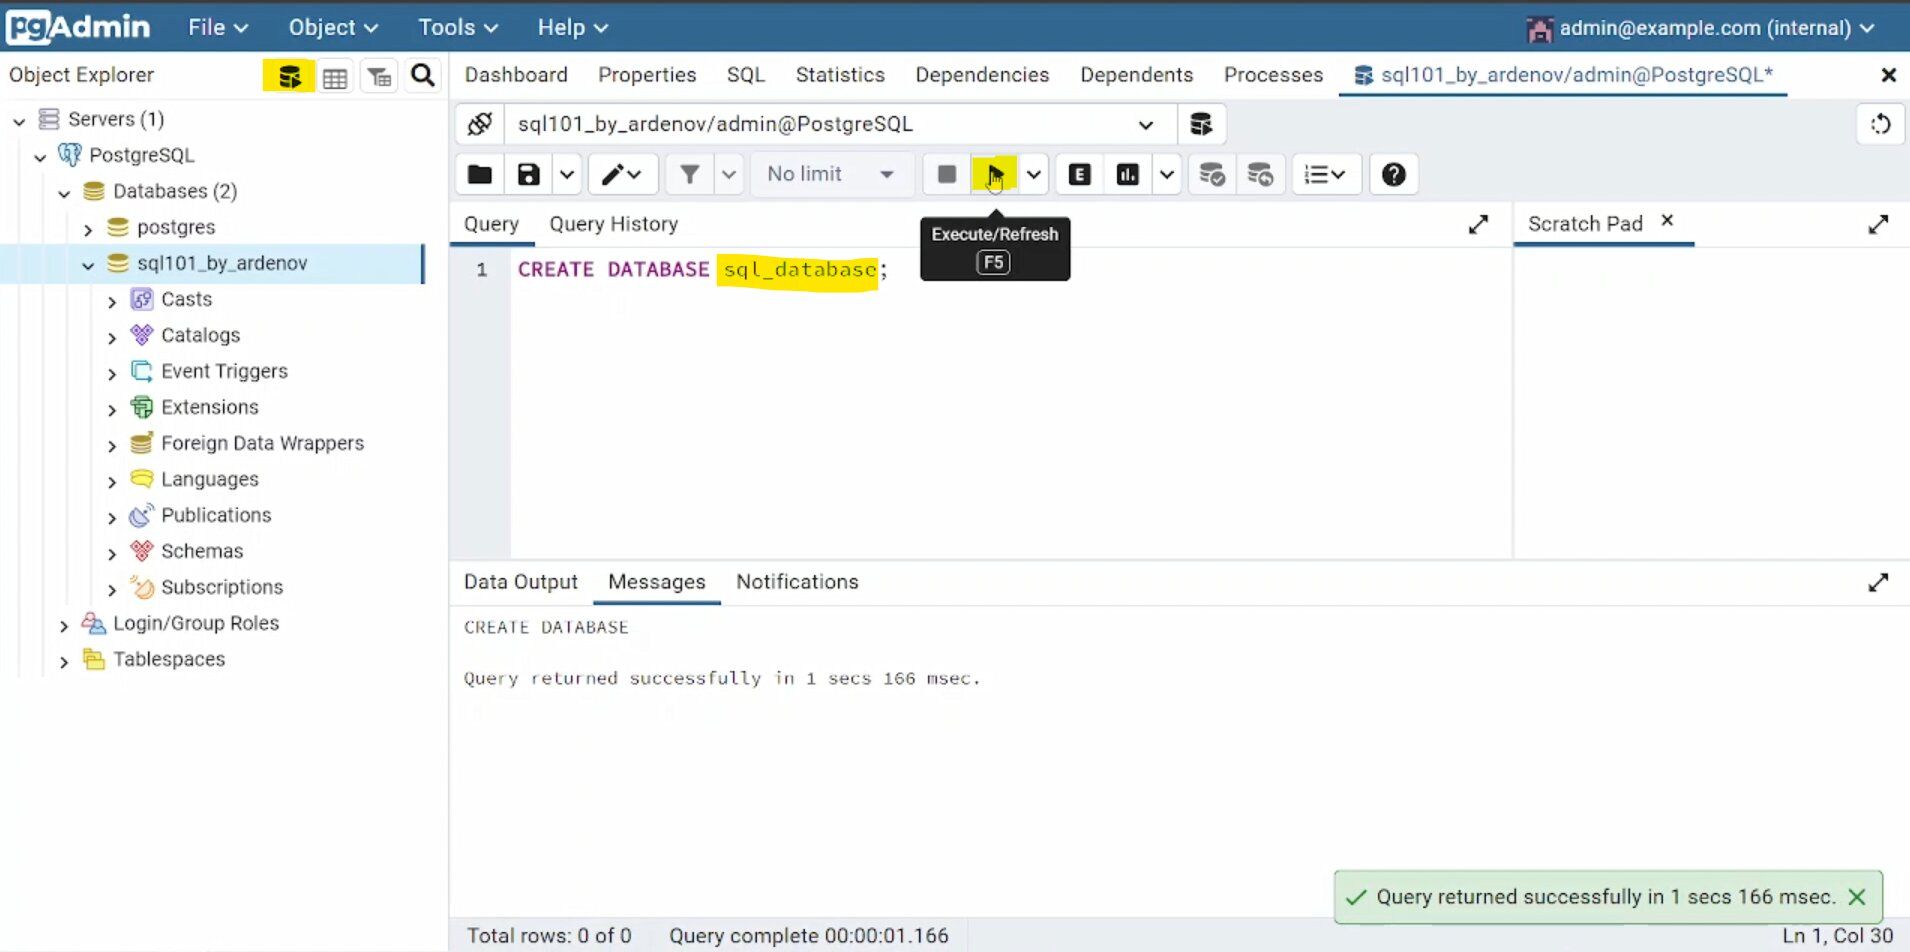
Step 2: Create a New Database
In the query tool, you can create a new database by running a SQL command like:
CREATE DATABASE YourDatabaseName;
Replace YourDatabaseName with the name you want to give your database.
Step 3: Define Tables & Insert Data
Once your database is created, you can define tables and store your data which we will cover the details in the next chapter. Each table should have a defined structure, including columns and data types.
Step 4: Query Your Database
You can run SQL SELECT statements to retrieve and manipulate data in your database. For now we are using it to check if your setup is complete.
SELECT 'Hello World from SQL' AS output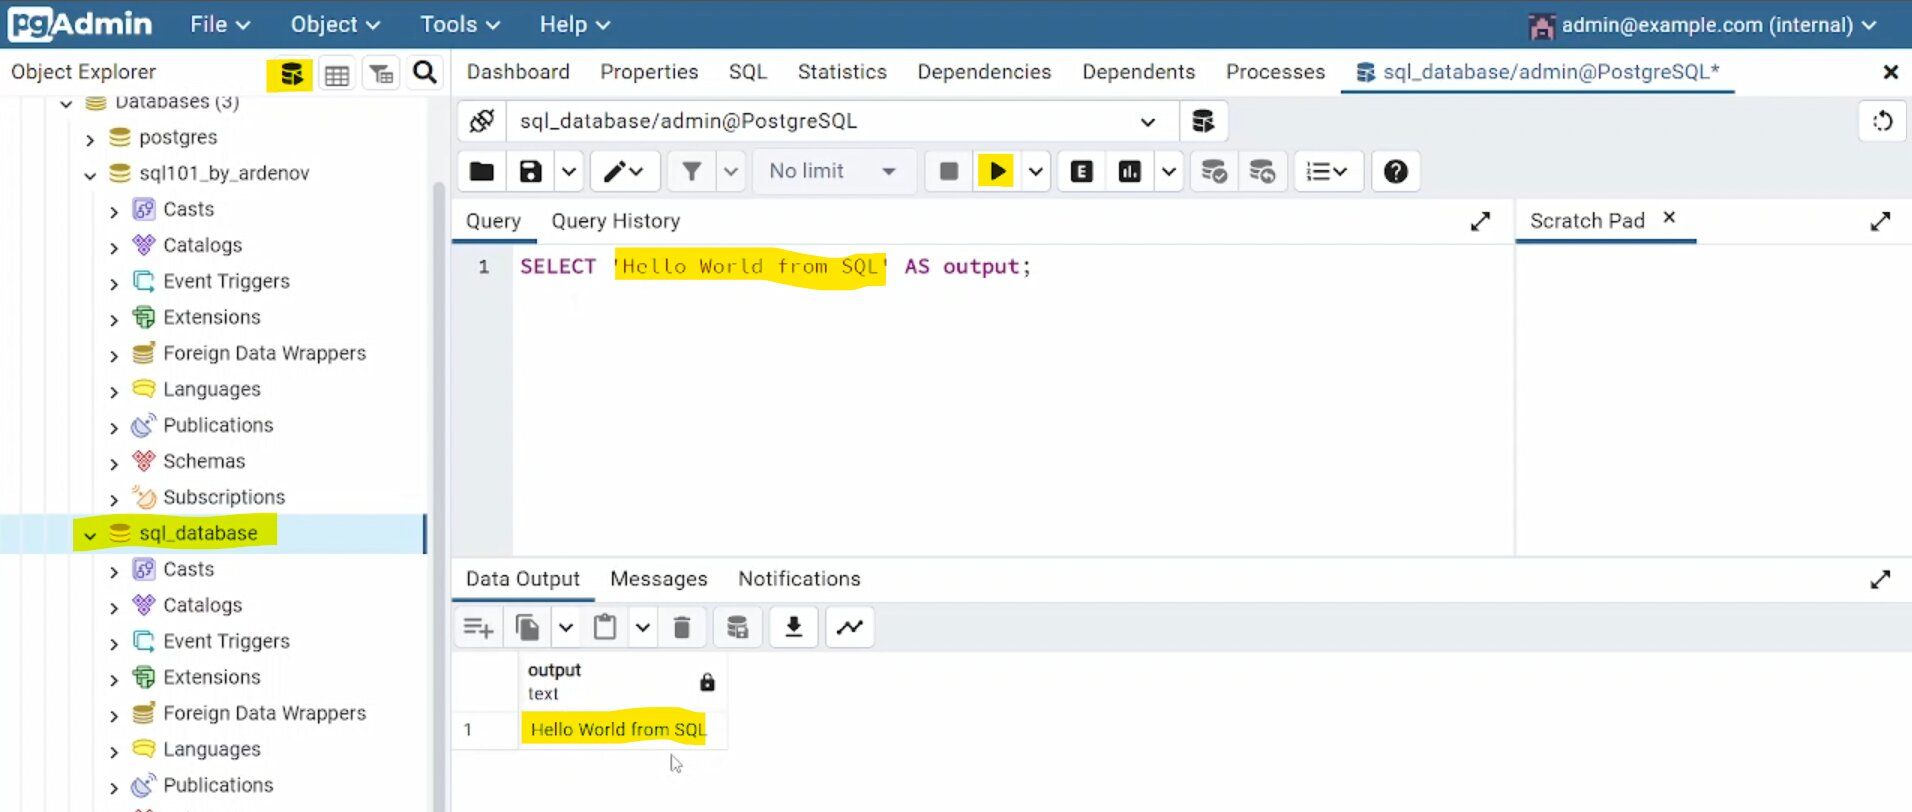
If you see that output then congratulations! You've successfully set up your database environment, including choosing the right DBMS, installing it along with a SQL client, and creating your first database.
Conclusion
Setting up your database environment is a critical first step in any data-driven project. By carefully selecting the right DBMS, installing it correctly, and creating a well-structured database, you're laying the foundation for efficient data management and application development. In the next chapter, we will retrieve data with SELECT statement. Until next time, happy querying!


Comments ()